
Alright, let's jump right in!

I usually do this hair style when I haven't washed my hair for a few days. That way my hair doesn't look a mess, but it also means I can go another day without washing it. So I use my trusty dry shampoo to keep it looking clean.

With a teaser-brush (pictured above) I give the hair around the crown of my head a bit of love. Some people have naturally round/perfect heads (can you sense my jealousy??) and can skip this step. But I have a flat spot and just like the way it looks a little better when it's messy/puffed up.


After everything is all teased I use the same brush to gently comb over the top to make it look a tiny bit neater.
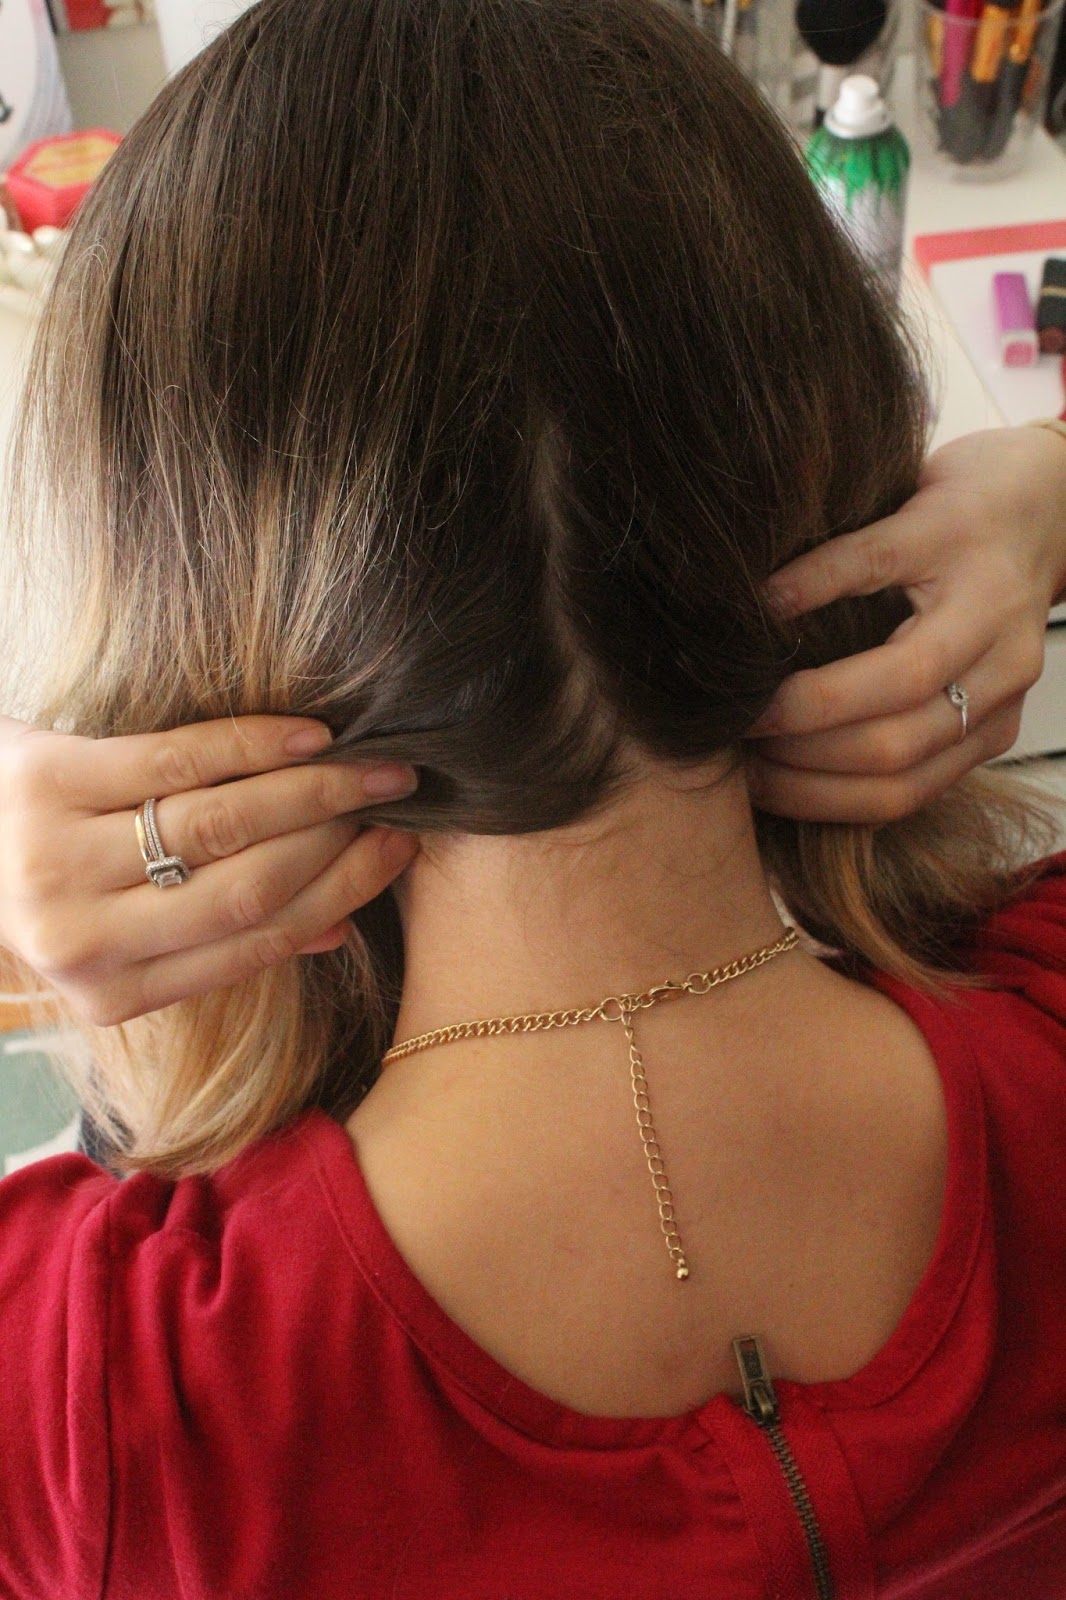
Next I roughly part my hair down the middle. You don't need a precise part because it won't even show when we're all finished. If you want you can secure the side you're not braiding with a hair tie so you keep all the hair where it should be.


Start with 3 strands and begin the braid.
I'm doing a dutch braid here, meaning that instead of pulling the hair strands over each other like you would in a french braid, I'm pulling them under.

If you're not a master at braiding your own hair, I PROMISE you can get better! Practice makes perfect. I used to suck, and some days I still do. But the more I do it the smoother it goes. Literally. Check out YouTube for some dutch braiding tutorials and you'll be a master in no time.

This step makes all the difference. Starting at the bottom of the braid (and with one hand holding the bottom to hold your braid together) gently pull at each strand to make the braid appear bigger/more full than it is.

Go all the way up to the beginning of the braid gently pulling each strand until it's nice and fluffy. Be careful not to pull too hard or too much hair or the braid will fall apart. After this, secure with a rubber band.

Same thing for the other side!

Now comes the somewhat frustrating part. I recommend using a small hand mirror to first decide where you want to put your bobby pins the first couple times you do this.

Pull braid number one to the other side, gently pull braid number two over it while tucking braid number one underneath to hide the end of the braid and your rubber band. Since we pulled & fluffed individual strands of the braid in the steps above it will make it easier to tuck and hide the parts we don't want to see, making the braids look continuous.

I use 2 bobby pins to secure the braid about an inch apart so that all of the end of the hair is hidden and the braid stays in place.

Repeat with the other side. See how our part has mostly disappeared?

Exact same steps as above! I push my bobby pins straight down and try to keep them hidden under my hair. This takes practice too, so try not to get frustrated if it doesn't go right the first time.

I always pull out some strands around my face and pull and tug on my hair in areas it's looking flatter. Eventually I get it where I want it.


And there you have it! A crown braid for all my short/medium haired ladies. It's nice to have an alternate for my go-to top knot every now and again. If you end up trying this out I would love to see, use the hashtag #mrsmormonmommy
Follow me on Instagram! @mrsmormonmommy
No comments:
Post a Comment